Using binder to deploy your code in Jupyter as an app
Using my binder.
Using mybinder.org
This will show you two ways to deploy your model as an app. This follows the FastAI lesson 2 example. I faced a few problems when deploying my notebook with iPywidgets into binder. This had less to do with iPywidgets and more with the set of accompanying files that you need to have in your repo.
Assumption
- You know how to create a git repo and use from the command line on your computer. Here is a neat tutorial on how to get started.
- I am using Paperspace for this example because it just works with FastAI lessons and notebooks.
- You have created a separate notebook to test the image recognition code following the code provided here Bear_voila.
Basic setup
- You should have created a notebook fashioned after the FastAI lesson notebook.
- This particular line
learn.export()in the notebook will export your model as a.pklfile. The name of the file isexport.pkl. This will be in the same directory where you created the notebook.

- Download the export.pkl file into your newly created gihub repo.
- Add another file called
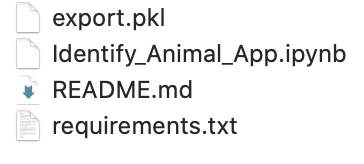
requirements.txtfrom here to your repo - In the end your repo should look like this

- Commit and push your code.
Setting up binder
- Goto my Binder
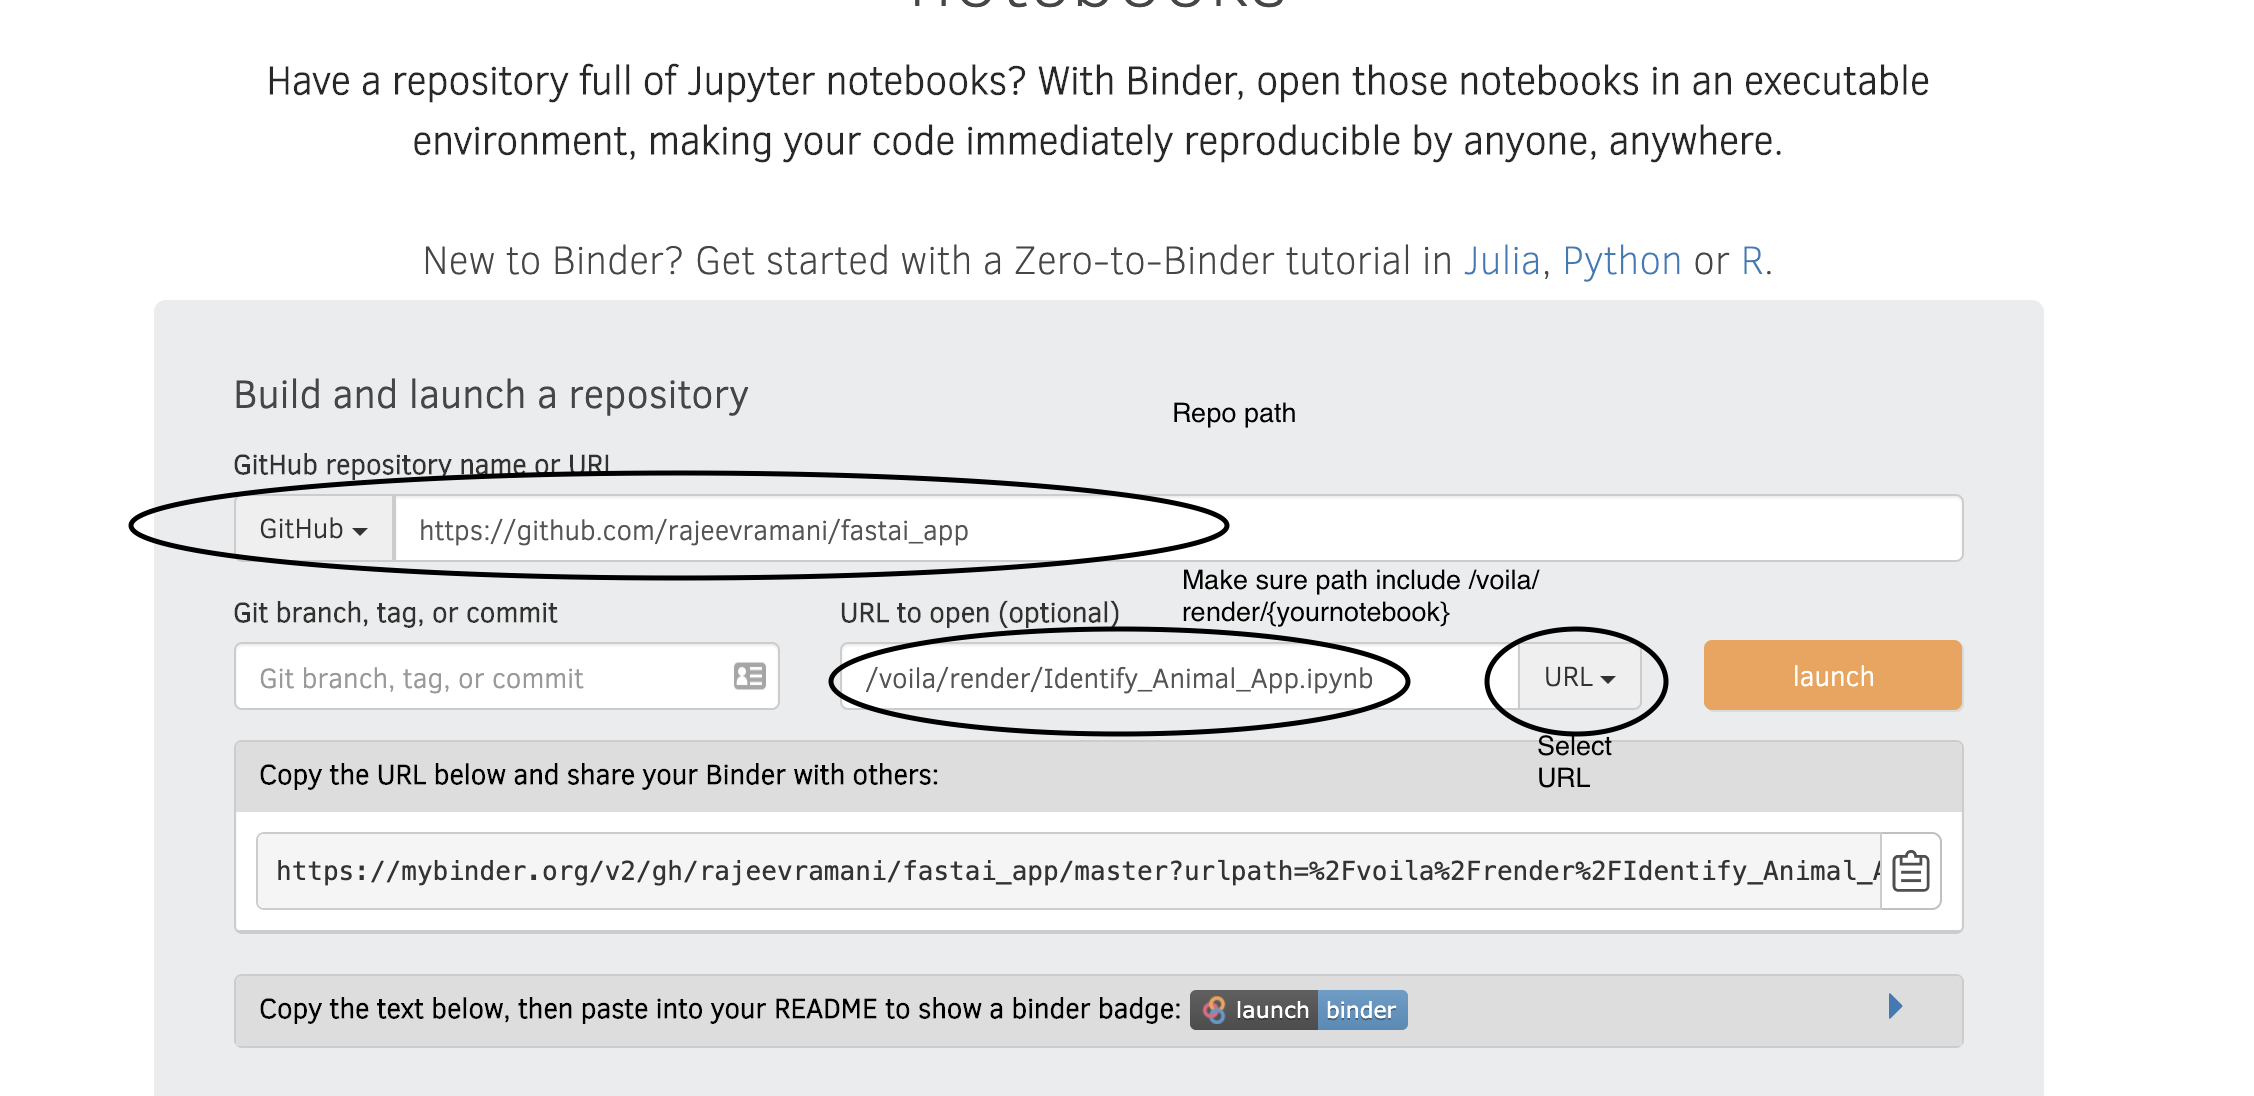
- Here is a screenshot of my Binder cofig.
